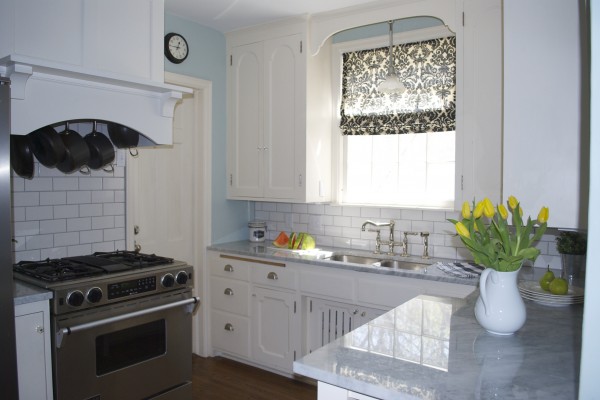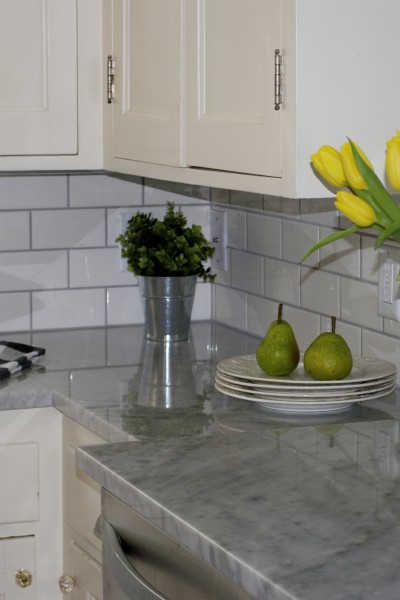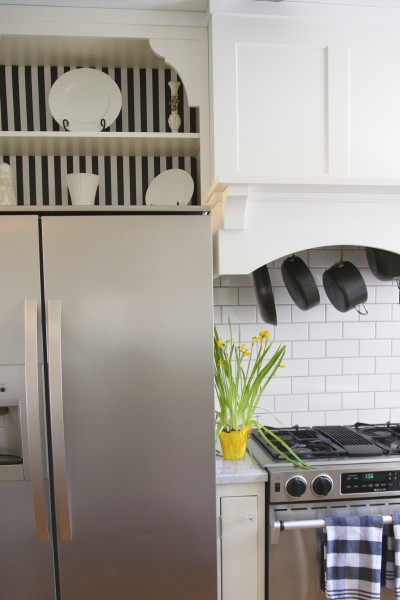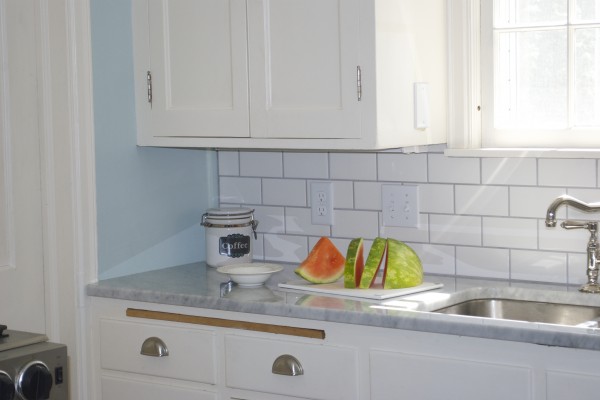
Tiling a kitchen backslash is a great DIY project. You don’t need advanced skills and you can save money. Sounds great so far, right? However, nothing drags down a kitchen remodel more than a bad tile job. You know what I mean….uneven rows, crooked tiles, weird cuts around outlets, huge grout joints at the top or bottom, a little sliver of tile on the end, grout haze on the tile. Nothing screams “I did it myself” more than a messed up tiling project. So if you’re going to tackle it, do it right! Check out these 10 tips to a perfect tile backsplash…
I’ve written countless DIY how-to scripts for tiling, but never once did the job myself. (You know that story about the cobbler’s children who have no shoes…) I finally took on the challenge with our new kitchen backsplash–along with Jim. We saved $500 in labor and I learned some interesting things along the way.
On a 1-5 scale, I put tiling a kitchen backsplash at a 2. Follow these 10 tips and you won’t go wrong.
1. Bullnose and Trim Pieces
Just buying the tile isn’t enough. When figuring out your tile order (adding 10 percent for waste), don’t forget to consider the edge of the tile field. You’ll need to buy bullnose tile for this area–or trim pieces.
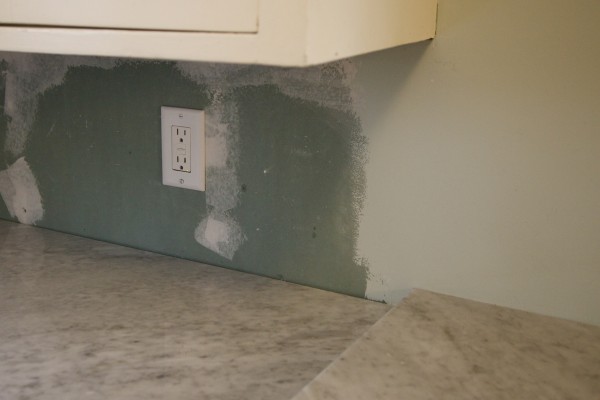
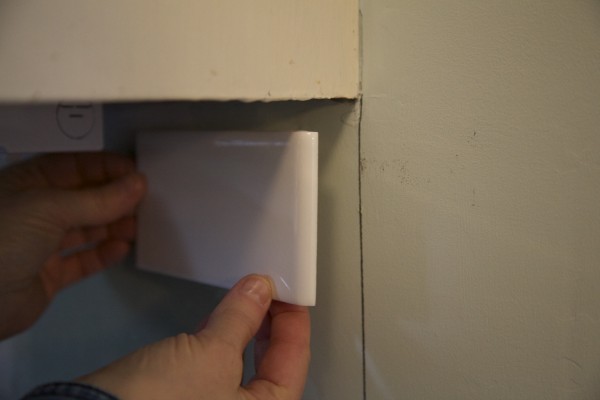
I ordered bullnose tile for this edge. Notice how the right side of the tile has a rounded edge? Using bullnose tile on the last row will give a finished edge. Sometimes you need bullnose along the top edge, too, if you don’t have a cabinet or trim above. Most of this bullnose tile is special order so if you don’t get it before you start, you’ll end up making some compromise you don’t like with something that is readily available. If you prefer the look of a trim piece to finish your edge–buy that.
2. Spacers and Grout
The spacers and grout are a big deal and change the look of tile. Think about these two things before it’s too late. How wide of a space do you want between each tile and what color do you want the grout to be? A super thin grout joint (1/16″) with white grout is going to make your project look far different than a 3/8” grout joint with dark gray grout. If you’re in doubt about the look you want, check out kitchen backsplash photos online to get an idea of what different tile and grout look like together. Bring your photo to the tile store and the sales person can probably help you determine the spacer size, based on the photo you like.
3. Tools and Supplies
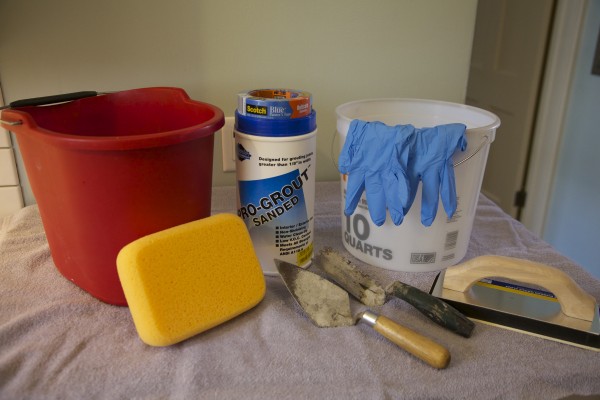
Buy and organize all of of your tools and supplies before you start the tile job. I mean everything! Tile saw, tile, edge tile pieces, tile adhesive, trowel, spacers, painter’s tape, surgical gloves, grout, a grout bucket and a water bucket, a grout sponge, paper towels, drop cloths and plastic to cover the countertops. It’s so aggravating to be standing in your kitchen, ready to go, and you forgot the painter’s tape to tape off the edge of the counter–or some other seemingly minor element that makes a big impact on your finished project. Also, it’s not just enough to buy all the items before you start, make sure to organize them so everything is together in one spot. If you’re like me, you skip buying something because you know you already own it but then when it’s time to get to work you spend a bunch of time looking for the item. Also–make sure you buy a trowel that has a notch width appropriate for your tile and adhesive. When in doubt, ask your tile salesperson, or read the side of the adhesive bucket.
4. Layout
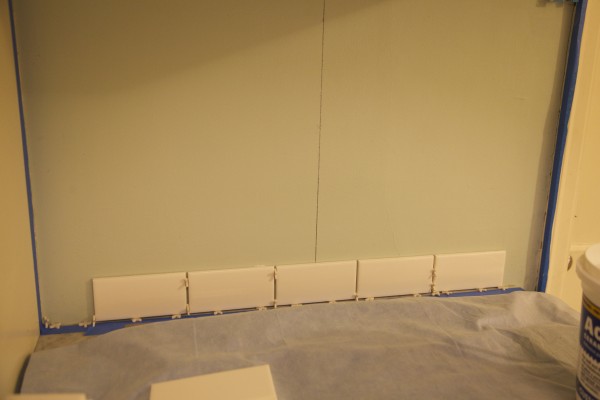
Be sure to layout the backsplash BEFORE you start. Try starting with a full tile on the end – and in the center. See how both line up. One will definitely look better than the other. The idea is to avoid tiny slivers of tile.
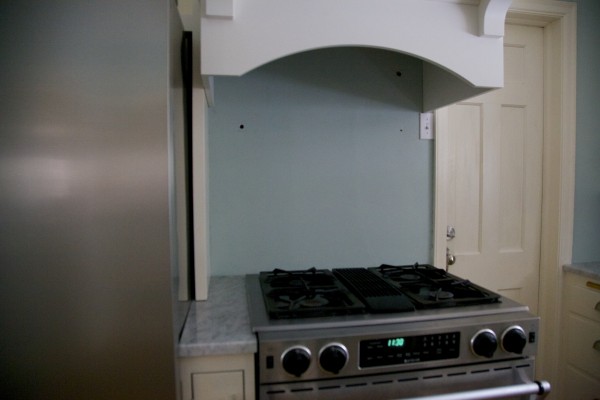
This wall worked perfectly by starting in the center with a full tile. The row ended with half tiles.
5. The Saw Blade:
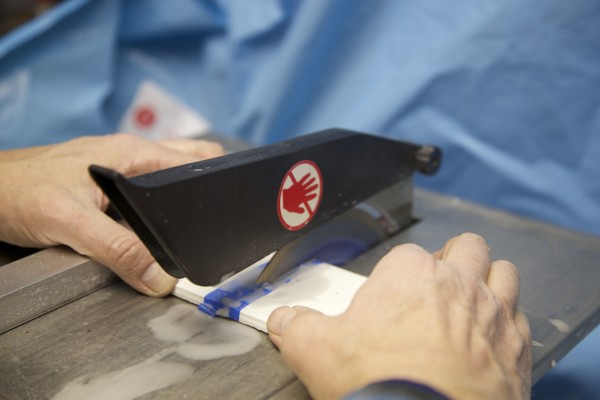
Make sure your tile saw blade can cut your tile. We had an old, cheap tile saw that Jim used on some basement tile. We started to use it but the blade was chipping the tile. First we tried taping the tile with painter’s tape and cutting through it. That didn’t work so we bought a new blade, made for ceramic tile. However that was chipping the tile, too. We couldn’t figure out why it wasn’t working. I checked out a bunch of online forums, searched all sorts of tiling sites and couldn’t find the answer. As a last resort, we bought a glass tile blade, even though we were cutting ceramic tile. We figured the glass blade might be more delicate on the ceramic. Bingo! The glass blade cut smooth finished edges. That saw blade issue was about a four hour fiasco–with two trips to the hardware store. However once we figured it out, we were able to get rolling and have beautiful looking cut tile.
6. Back-buttering
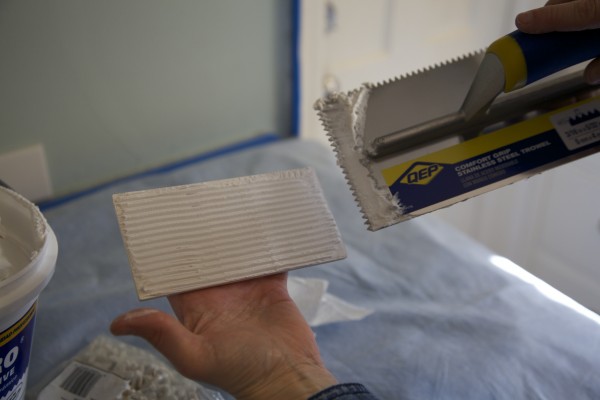
Most tiling sites will tell you how to put your tile adhesive on the wall with your trowel. It’s pretty straightforward. You just scoop it out of the bucket with a v-notch trowel and sweep it on the wall–holding your trowel at an angle.
However, it’s tough to get the adhesive on the first row next to the countertop without making a mess–especially if this is your first time tiling. The trowel will feel a little awkward in your hand until you get the hang of it. So, it’s easier to back-butter each piece, making sure to get your adhesive on the entire piece of tile. Also, be sure to put your spacers on the counter so you have a grout joint between the countertop and tile. After the first row, you can put the adhesive right on the wall. I did that for a few rows, but because I was working in a tight spot with lots of cut outs, it was easier for me to back-butter each piece of tile for the backsplash.
7. Level it!
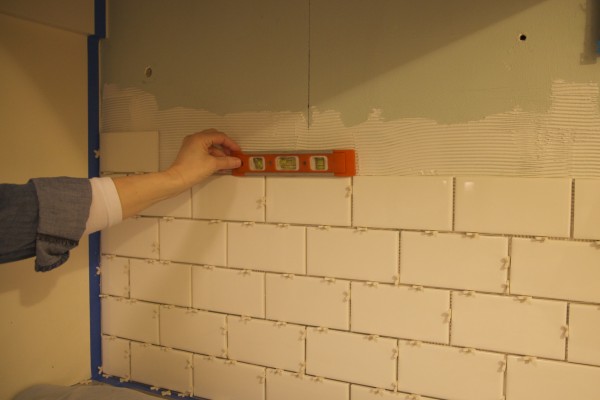
Use a level as you go up the wall to ensure that your rows stay straight. Enough said.
8. Patterns
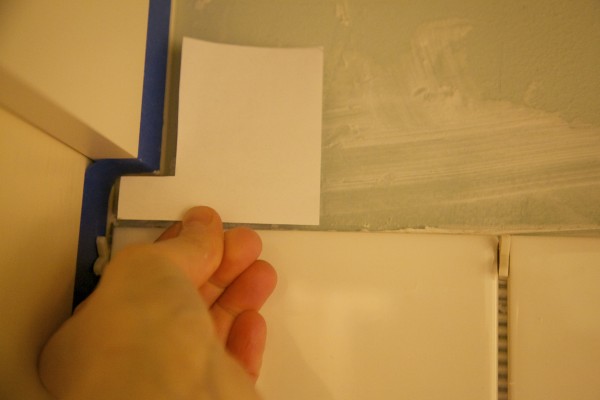
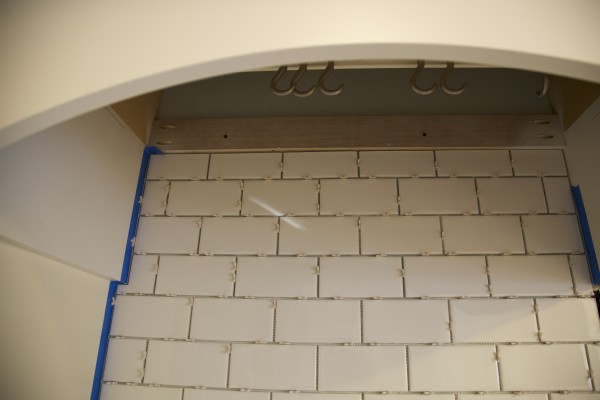
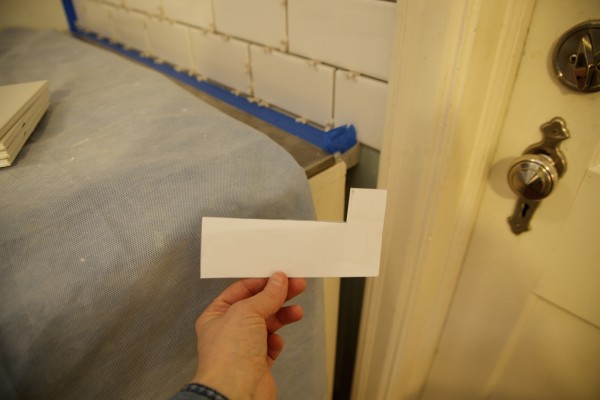
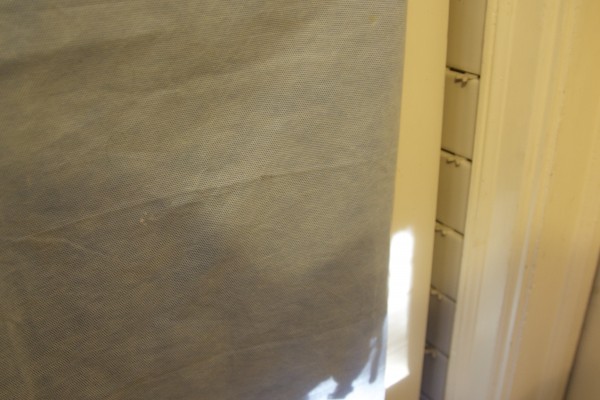
Setting full and half tile is easy. The trick comes when you need to cut around things like outlets and cabinets. You need to measure for the cut and transfer that measurement onto your tile. However, I wasn’t happy with the fit I was getting. Some cuts were okay–some weren’t even close. I was looking for a pro-style cut, not an okay cut. That’s when the idea of a pattern came to me. I took the concept of a sewing pattern and drew a paper pattern for each piece that needed to be cut. Once the pattern fit the space perfectly, I transferred that pattern onto the tile and cut it out. It worked great for me and the cuts were spot on.
9. Painter’s Tape, Surgical Gloves & A Pastry Bag
Once your tile is up and has set for 24 hours, you’re ready to grout. Be sure to tape off all of your trim and countertop and cover everything with plastic because this is a messy job. Your painter’s tape will also create the “edge” of your grout so make sure you put it down straight and in the place you want the grout joint to end. When you pull away the tape you’ll have a clean finished edge of grout–with an arrow straight edge.
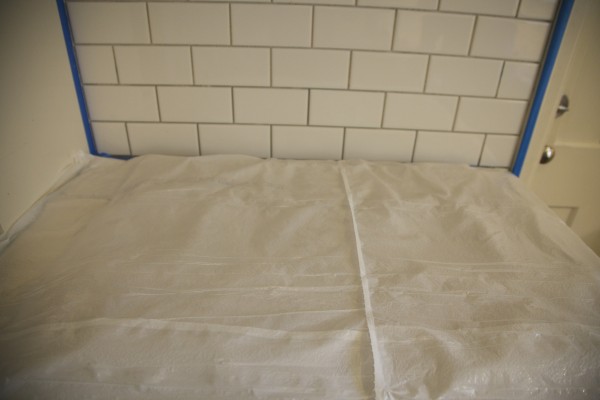
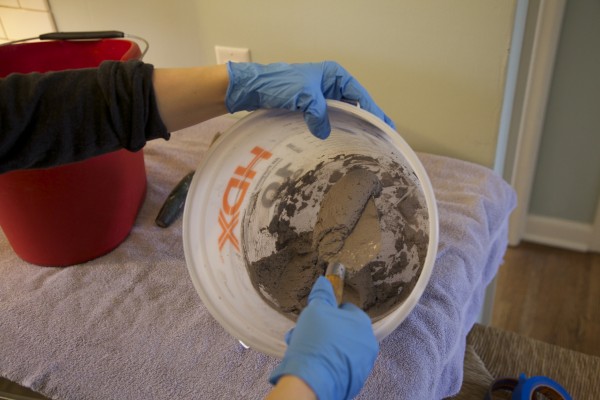
The key to grouting — wear surgical gloves to save your skin. If you don’t, the grout will destroy your hands. That’s a little dramatic, but without gloves your hands will look and feel like a dried mud bed.
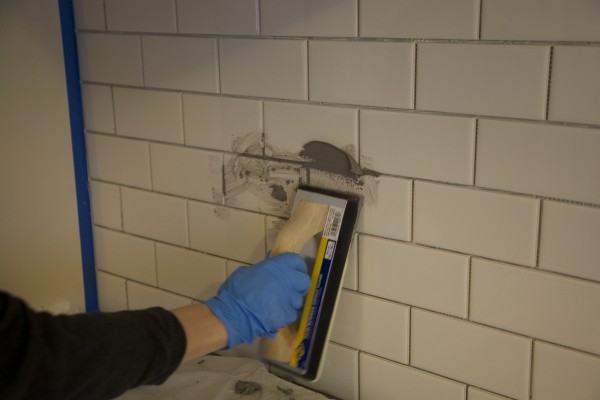
A grout float is the traditional way to get grout pressed into the joints…
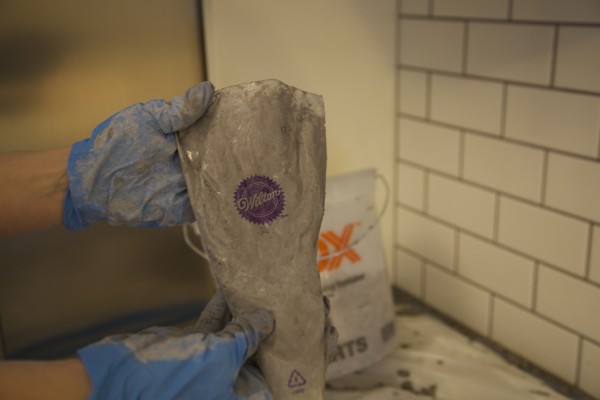
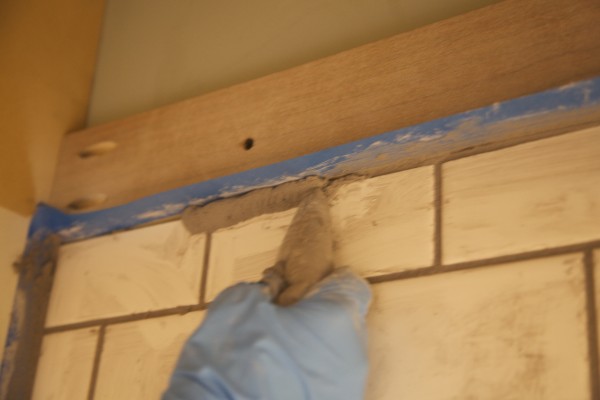
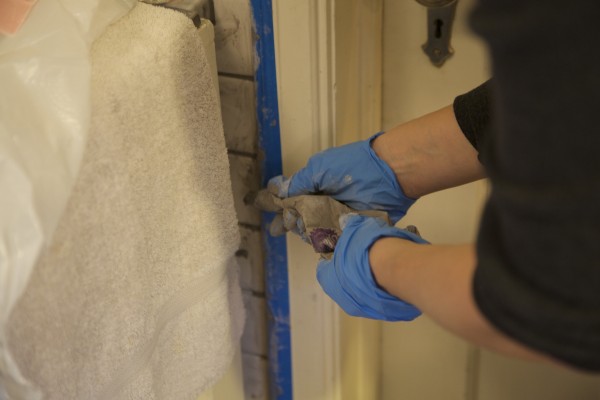
However, if you’re grouting tight spaces, you’re probably going to find the groat float is really awkward. When I got to the edges, I was having a hard time getting the grout pressed into the joints. That’s when my baking tools paid off. I grabbed a disposable pastry decorating bag, filled it with grout and it worked like a charm–delivering a thin bead of grout that I pressed in with my fingers.
10. The Haze
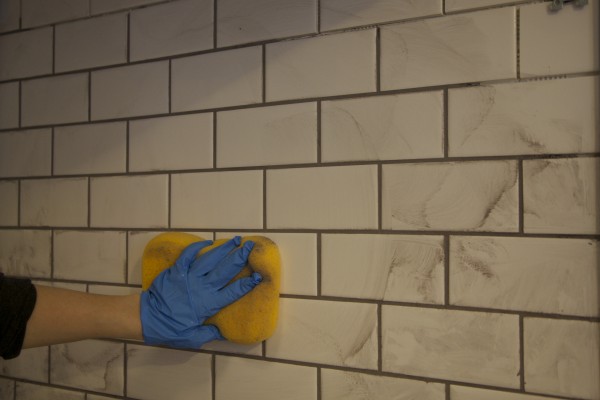
The cardinal rule of grouting is to make sure you get all the grout wiped off the tile. (If you used porous tile like natural slate you need to seal it before grouting or you’ll never get the grout off). Just keep wiping the tile with a clean sponge until the haze is clear.
I carefully pulled off the painter’s tape after a couple of hours. I wanted the grout to be set a bit but not totally dry.
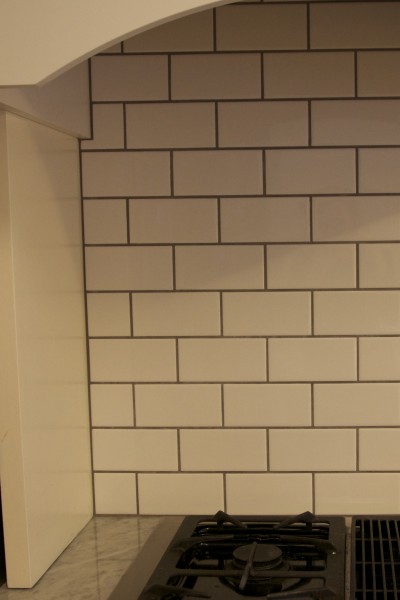
Once the grout dries for 24 hours the project is officially complete and the kitchen is ready for business.
Tiling isn’t a tough job, but you need patience–and a few insider tips to get the job done right. The goal is to make it look like a pro did it–don’t make it scream, “I did it myself!”
