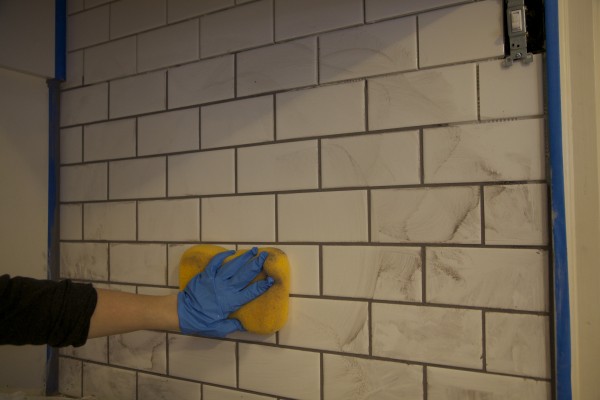
We finally made it to the final phase of our 1936 kitchen remodel. That means it’s time for countertops, the backsplash and final finishes!
The countertops are always my favorite project. After the countertops are installed, you can see the finish line. Even though I’ve ordered hundreds of countertops for TV remodel projects, I had a hard time making the final selection on my own countertops. Why? I couldn’t decide between soapstone or Carrara marble. Basically the choice was–black or white. (In my husband’s sage wisdom, he let the decision up to me.)
We had been living with a remnant soapstone slab on the island…
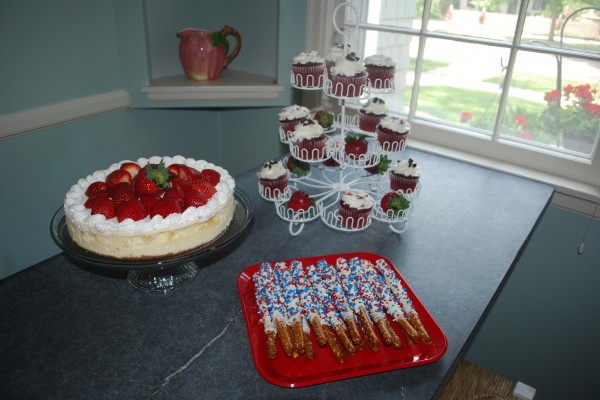
…and a remnant piece of Carrara marble on the dishwasher cabinet.
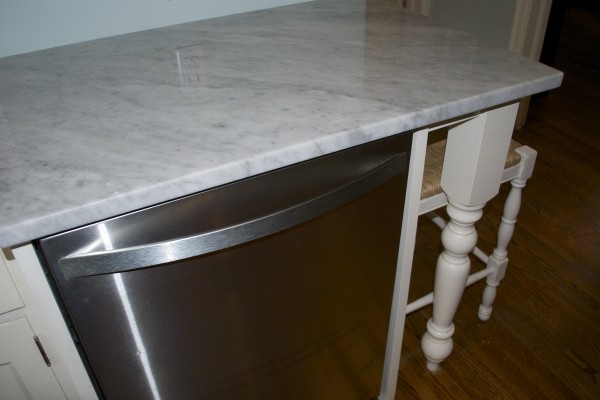
I have written countless TV scripts about the pros and cons of Carrara marble and soapstone and even lived with both materials and still couldn’t decide.
Both soapstone and Carrara are classic, timeless, natural stones that patina over time. Patina is a nice term used in the industry for “looking aged.” If you want your countertops to stay looking like new, you need to get engineered quartz or granite–but that’s another topic, for another day. Be warned that most countertop sales people will try to steer you away from Carrara marble countertops. “It stains, it chips, it etches.”
I wasn’t dissuaded and went with Carrara marble because I thought it would keep the kitchen feeling lighter and cheerier. I was okay with the “patina” factor since we had been living with the piece on the dishwasher for quite awhile and although it did have etches and scratches, they didn’t bother us. The installation was scheduled to take place in three weeks.
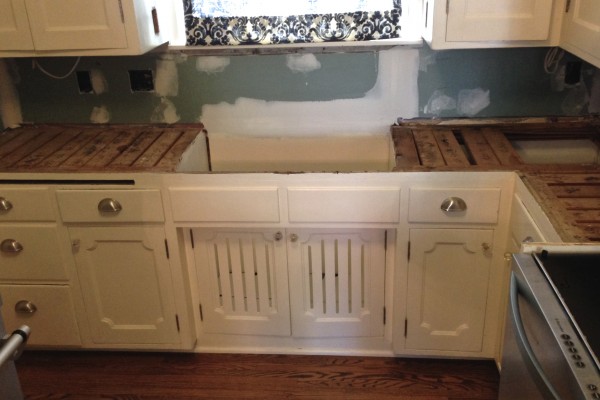
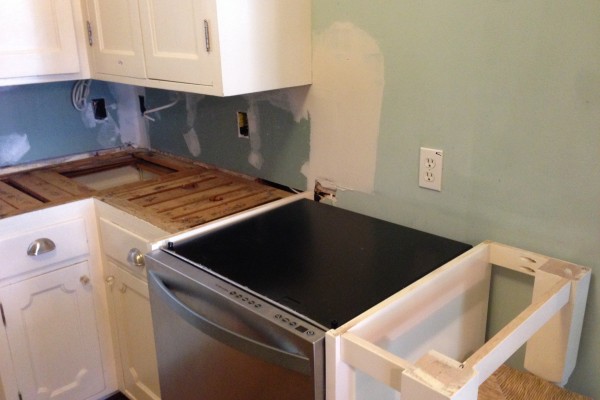
Two days before the countertops were set to arrive, we took out the old laminate tops – saving $300 doing our own demo.
Then, we were hit with one of those awful home improvement surprises! There was an electrical wire running under the countertop. All the wiring needed to be replaced and brought up to code. The countertop installation was put on hold while we addressed the wiring.
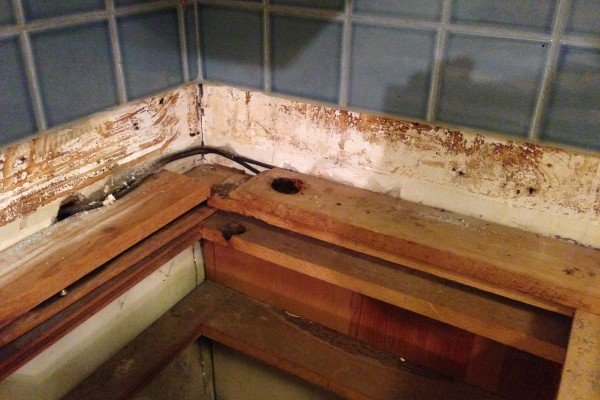
Fixing the wiring required tearing out the backsplash and basically starting from scratch. What I just wrote in one sentence took two weeks and $1,800 to address. After all the wiring was finished and the new green board (moisture resistant drywall) in place we were finally ready for countertops.
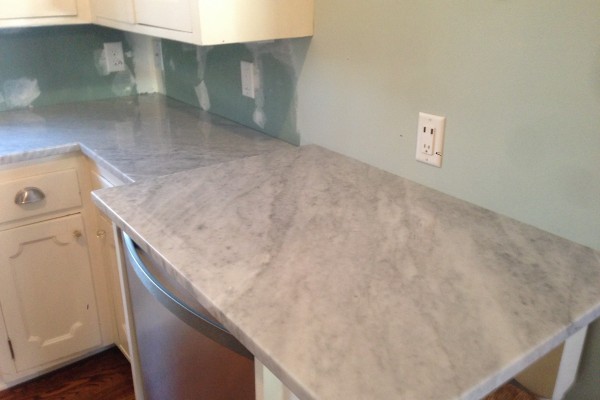
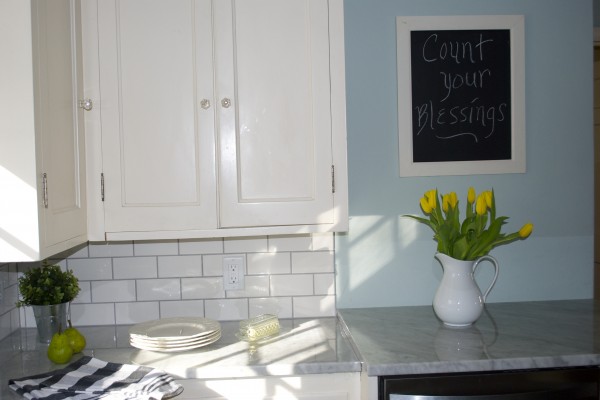
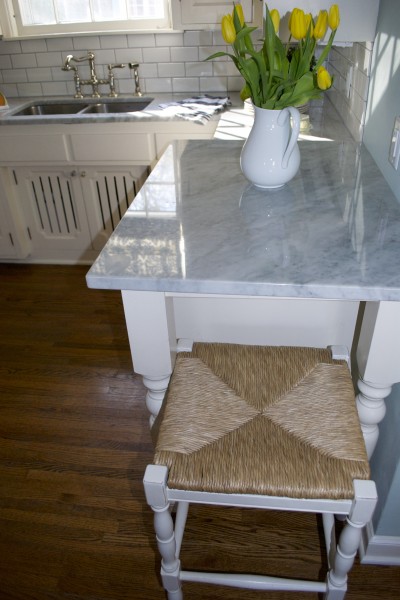
The new Carrara marble countertops were installed in just a couple of hours. I have to say….I LOVE the look. Light, fresh, airy and classic. They are everything I was hoping for.
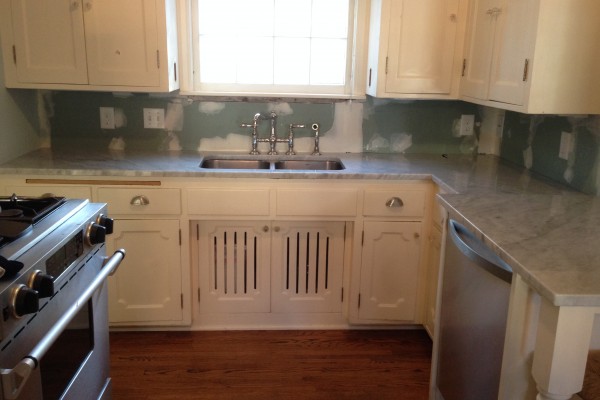
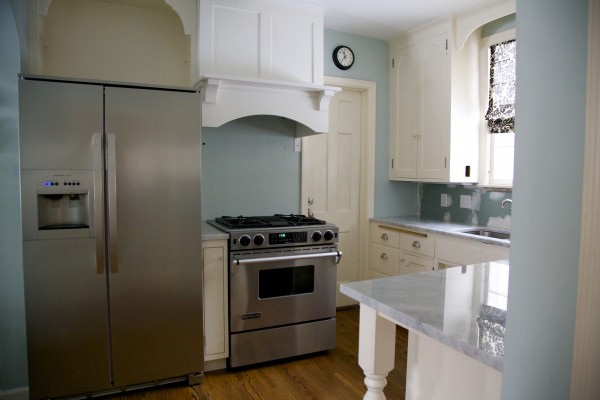
But the job wasn’t finished yet, we still needed to install the white subway tile backsplash to complete the kitchen. Jim and I decided to tackle it ourselves.
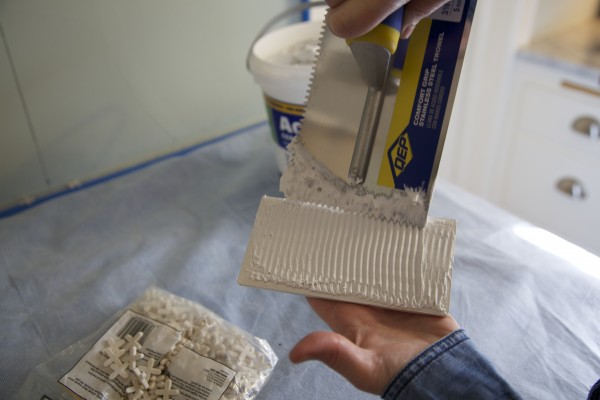
We saved $500 on labor–but we earned it. It’s a small backsplash so I thought it should be simple. I have written about tiling backslashes and floors hundreds of times–but had never done it myself. Jim had done a little tiling on the basement floor. There were a lot of cuts for outlets and cabinets so it took many more hours than I expected. But I think it turned out fantastic and we both have a certain sense of accomplishment. (And did I mention we saved $500 on labor?)
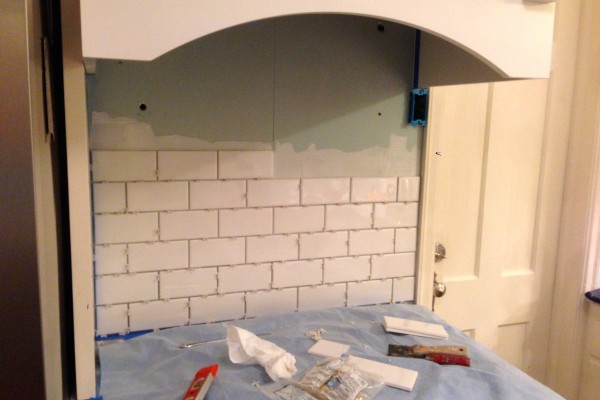
We went with a dove grey grout and a 3/8″ grout joint that looks good with the Carrara marble countertop.

In the end, our phased approach to this small kitchen remodel worked out great for us (except for that hiccup with the wiring).
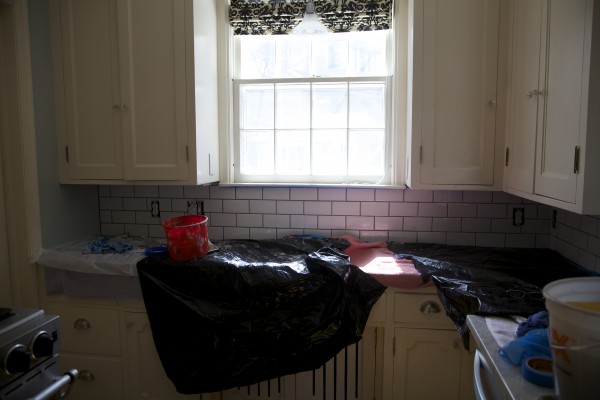
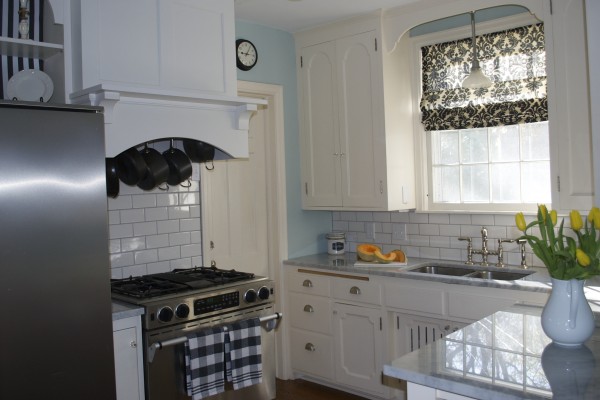
Once the kitchen was cleaned up and we were able to use it…we quickly fell in love with all the changes we made. Yes, it’s still a small kitchen, but all the added features maximize the space even more than we imagined.
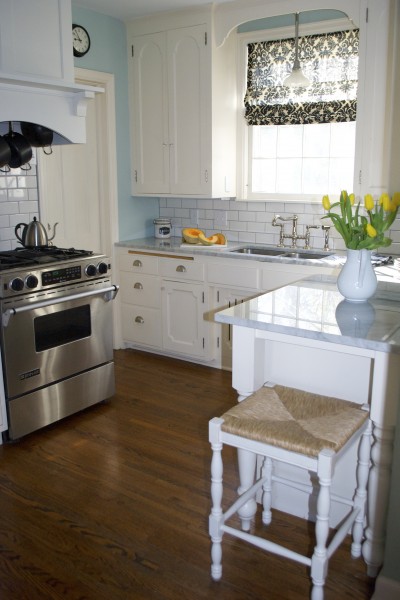
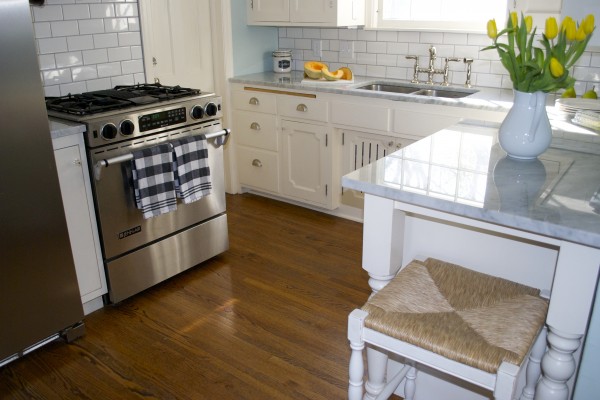
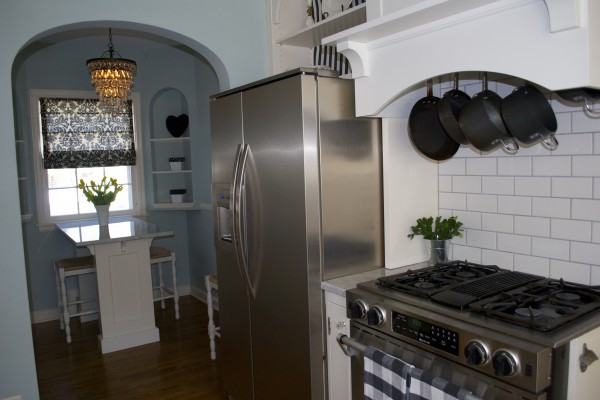
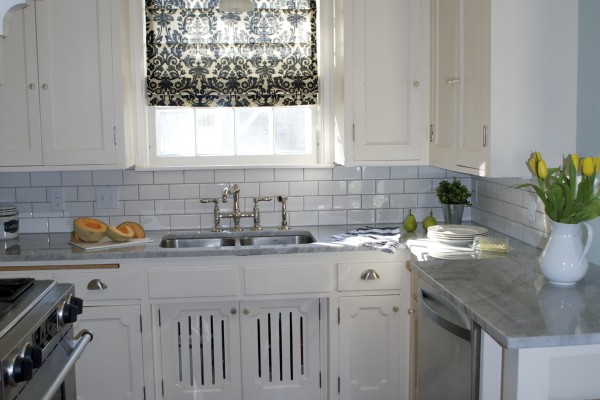
We have a dishwasher–with added counter space–and a handy place to sit…
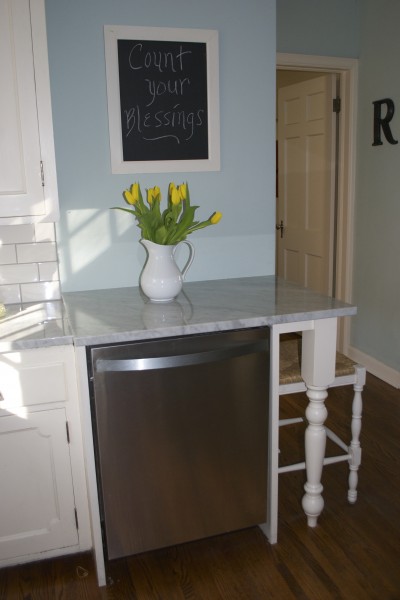
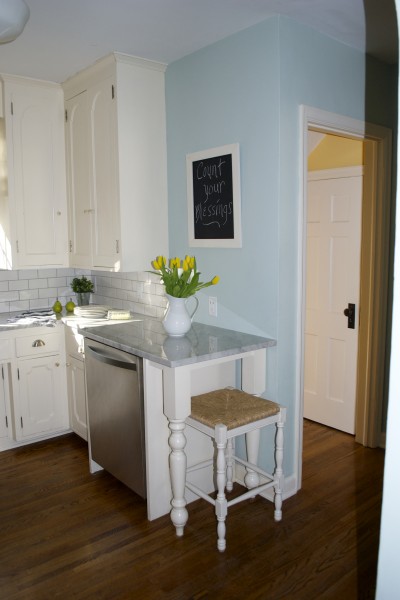
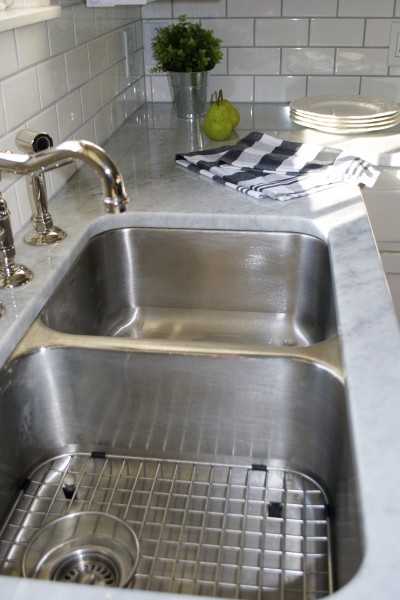
…plus, a deep new undermount stainless sink with a gorgeous faucet.
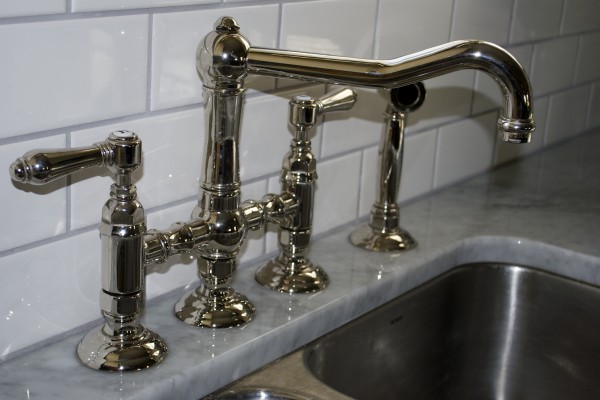
The polished chrome bridge-style Rohl faucet matches the traditional feel of the kitchen.
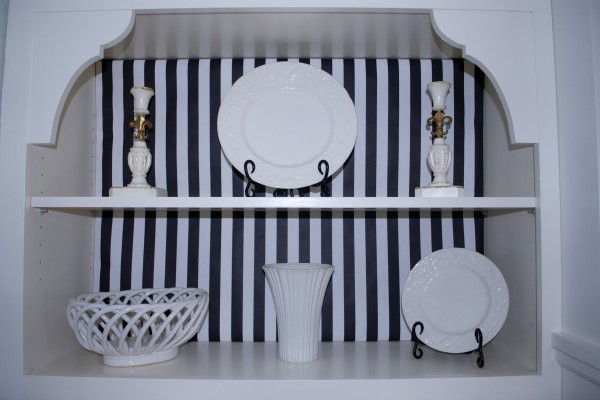
I jazzed up the built-in fridge cabinet with black and white striped wrapping paper. It adds a fun pop of pattern.
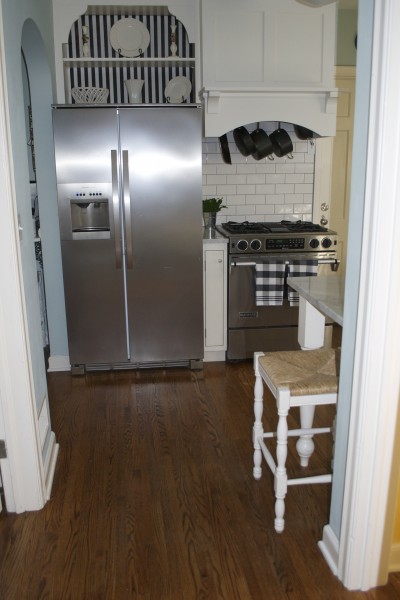
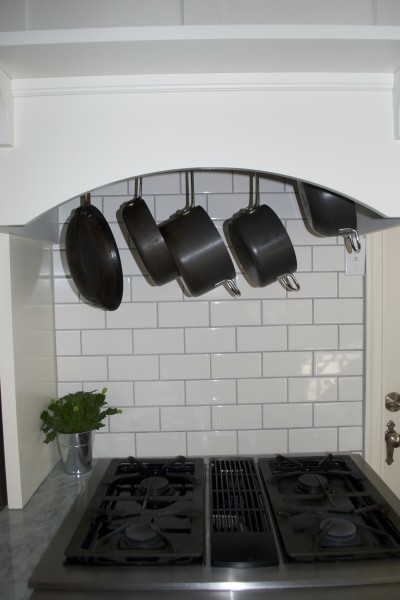
The hidden pot rack in the vent is the perfect solution for this small kitchen. Pots and pans are always within easy reach and it frees up the rest of the cabinets for other things.
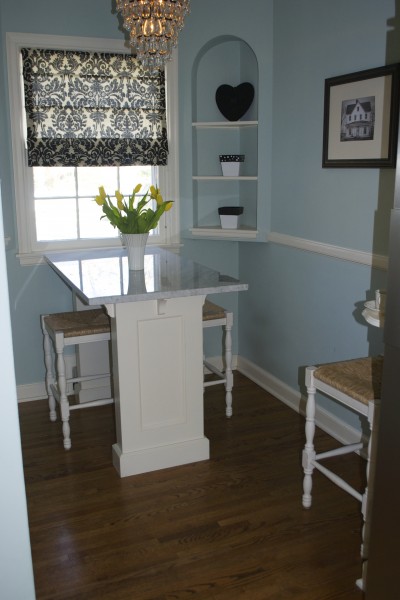
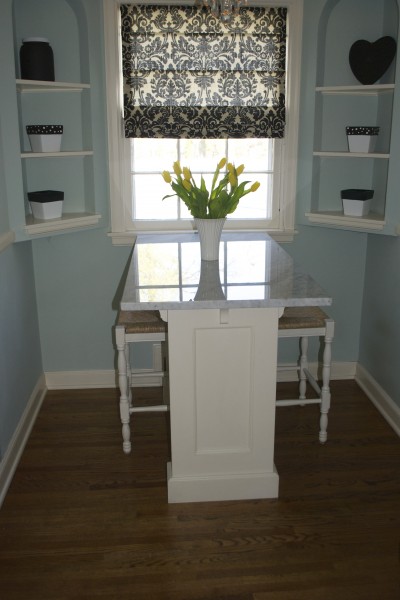
A cozy kitchen nook with a custom island gives us enough space to use this eat-in kitchen space every day.
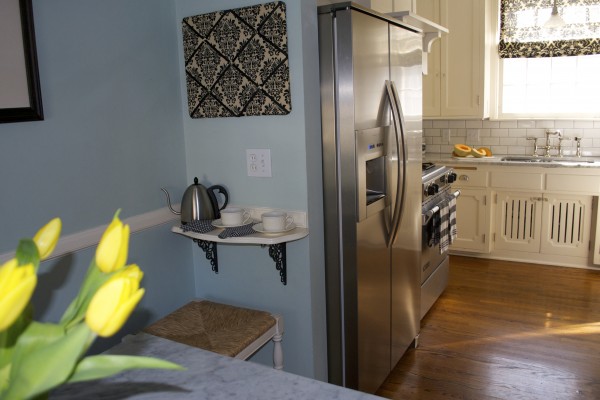
The space saving coffee bar is a great addition. It’s just a shelf mounted on a pair of antique brackets, but it gives us just the space we need for the coffee pot–keeping the main countertops free of clutter.
I wouldn’t change a thing on this kitchen remodel and I don’t have any regrets on selecting Carrara marble for the countertops. I was warned that it would etch, scratch and stain, so the “patina” is no surprise. We lived with the remnant on the dishwasher so I knew what the etching and scratches look like. However, our old kitchen had bad lighting. When we updated the electrical, we also added new under cabinet lighting which has illuminated the kitchen. Now, all the etching and scratches really show up! We’re a lot more careful with the these countertops–which is kind of weird in a kitchen. But I’m okay with it. I think Carrara countertops are like high heels for the kitchen. They’re not the most comfortable thing, but they look like a million bucks and every once in awhile you need a little glam in your life!
Resources for this kitchen:
- Blanco stainless steel undermount kitchen sink
- Carrara marble countertops
- Rohl country 2-handle polished chrome bridge style faucet
- Dorchester counter stool with woven rush seat
- Benjamin Moore Palladian Blue paint
- Deluxe print roman shades in floral onyx
- 3×6 white subway tile
- Dove grey sanded grout
- Cabinet cup pulls
- Crystal knobs
- Additional custom cabinets
- Benjamin Moore Satin Impervo linen white cabinet paint